Basic concepts & UI overview
The meaning of projects, sequences, frames, and Lens, so the rest of the docs are easier to follow.
SeqLens uses a few terms when working with image sequences. Understanding them first makes the operation steps in the rest of the docs easier to follow.
| Term | Meaning |
|---|---|
| Project | The folder used as the starting point for finding image sequences. When you open a project, its images are scanned. |
| Sequence | A set of images with the same name and extension where only the frame number changes. For example, shot_0001.exr through shot_0100.exr. |
| Frame | One image that belongs to a sequence. |
| Missing | A state where an expected frame number cannot be found. |
| Anomalous | A state where the frame exists, but its size, modified time, or another value differs greatly from nearby frames. |
| Lens | The preview area that opens on the right. Use it to inspect frames, compare sequences, and view metadata. |
Main screen
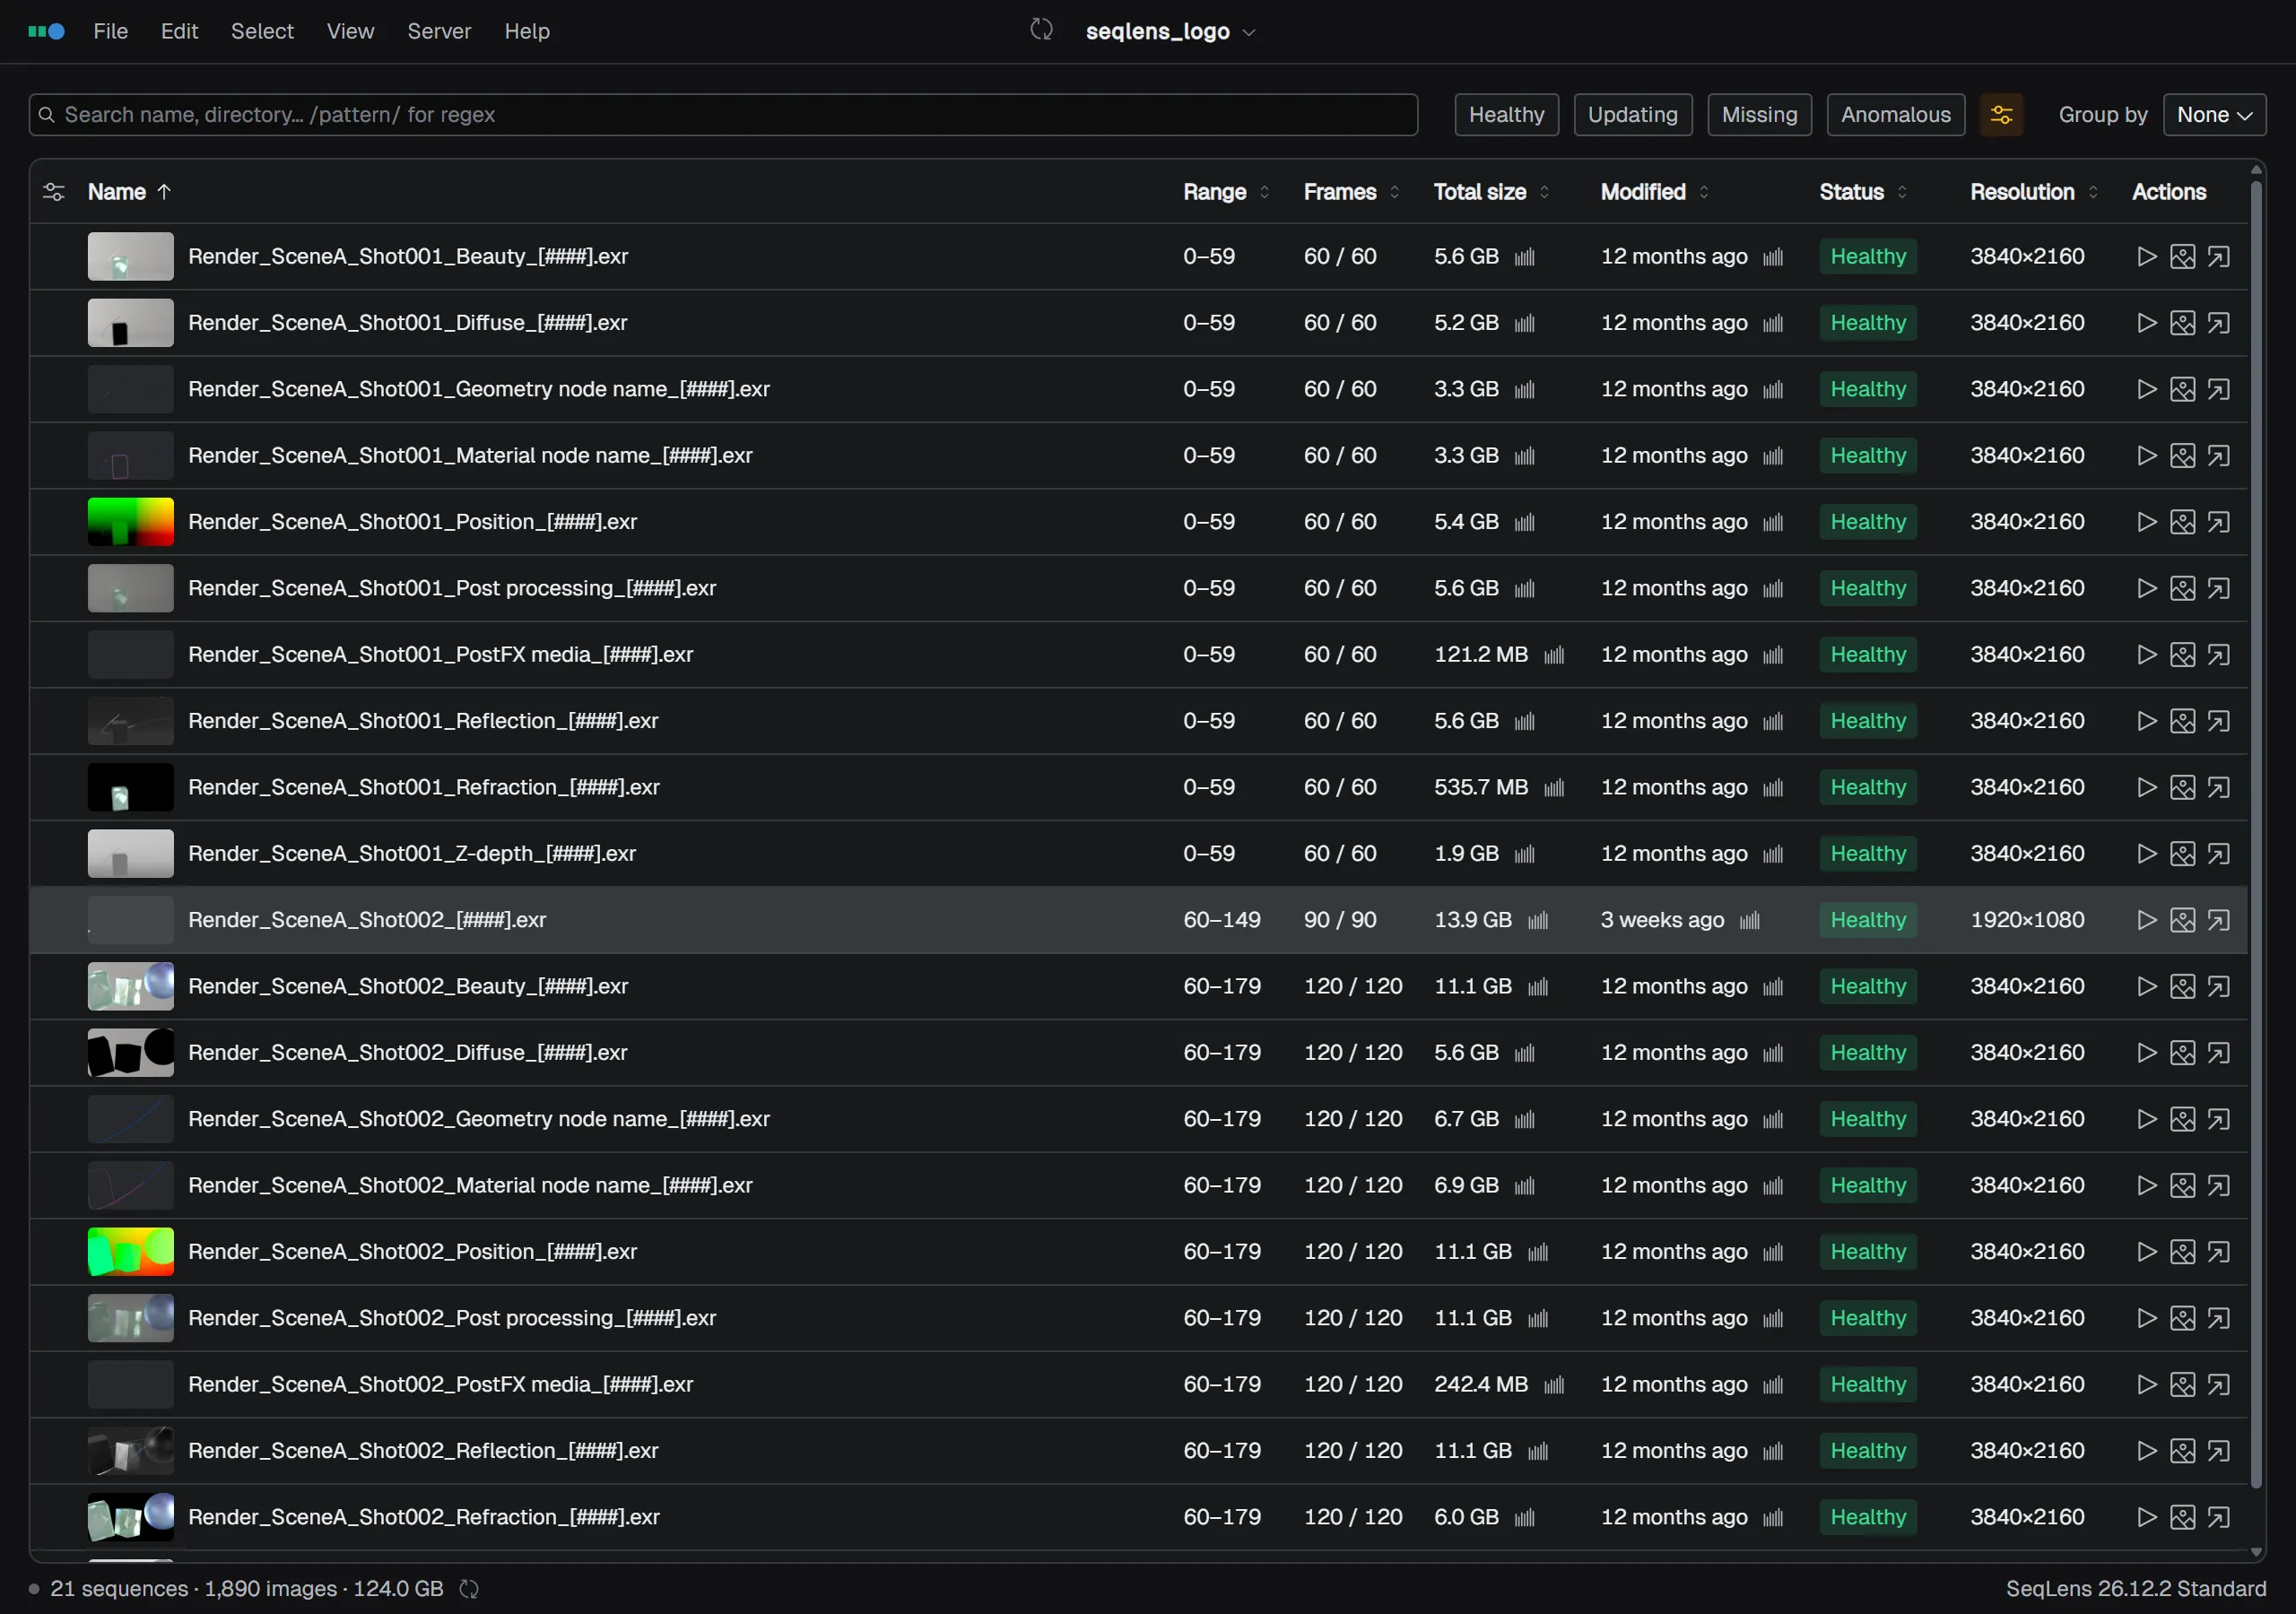
The main workspace in SeqLens is the central sequence table and the Lens area on the right.
- In the sequence table, review found sequences and check their status and frame count.
- In the filter bar, narrow the list by name, extension, and status.
- In Lens, inspect images and metadata for the selected sequence.
- In the status bar, check the selection count, totals, and scan statistics. Running jobs are shown in a separate window opened from View → Jobs.
First actions to remember
- Open a project: Cmd/Ctrl+O
- Rescan: Cmd/Ctrl+R
- Search: Cmd/Ctrl+F
- Open/close Lens: Space
- Open the command palette: Cmd/Ctrl+K / Cmd/Ctrl+Space / Shift+C
For the full walkthrough, continue to Quick start.