Lens — Inspect mode
How to preview a single sequence in Lens and inspect its frames and metadata.
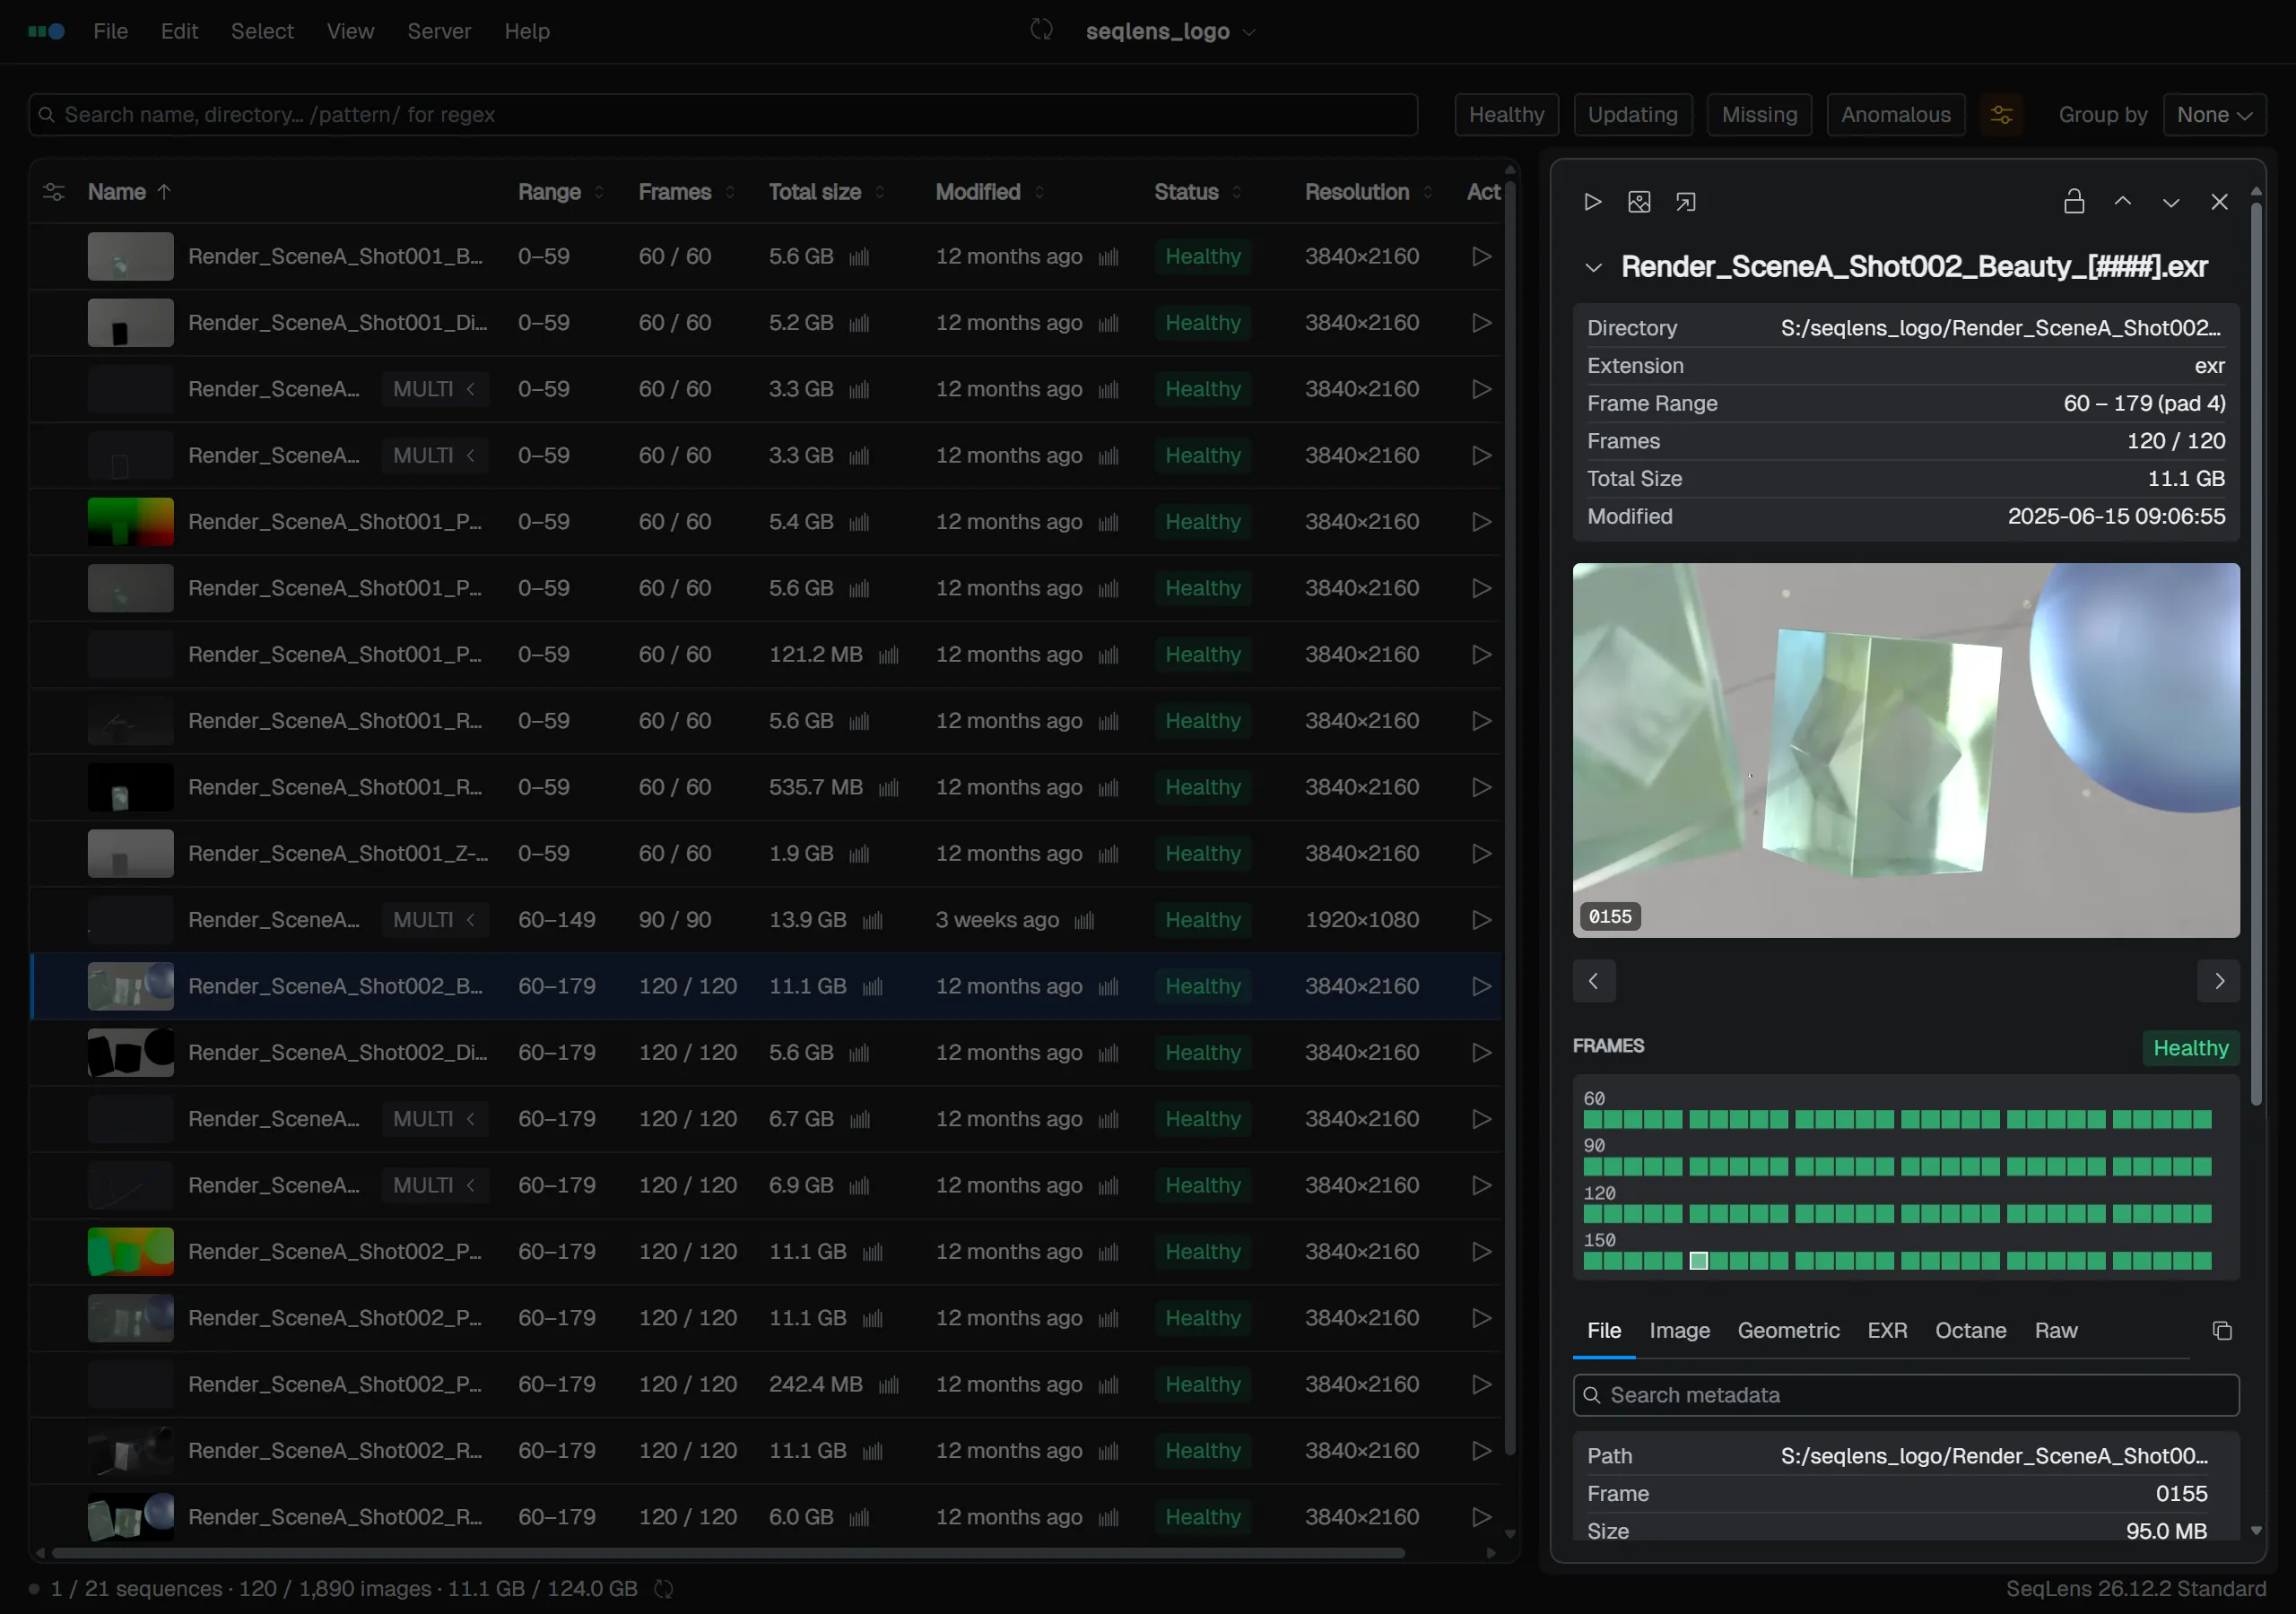
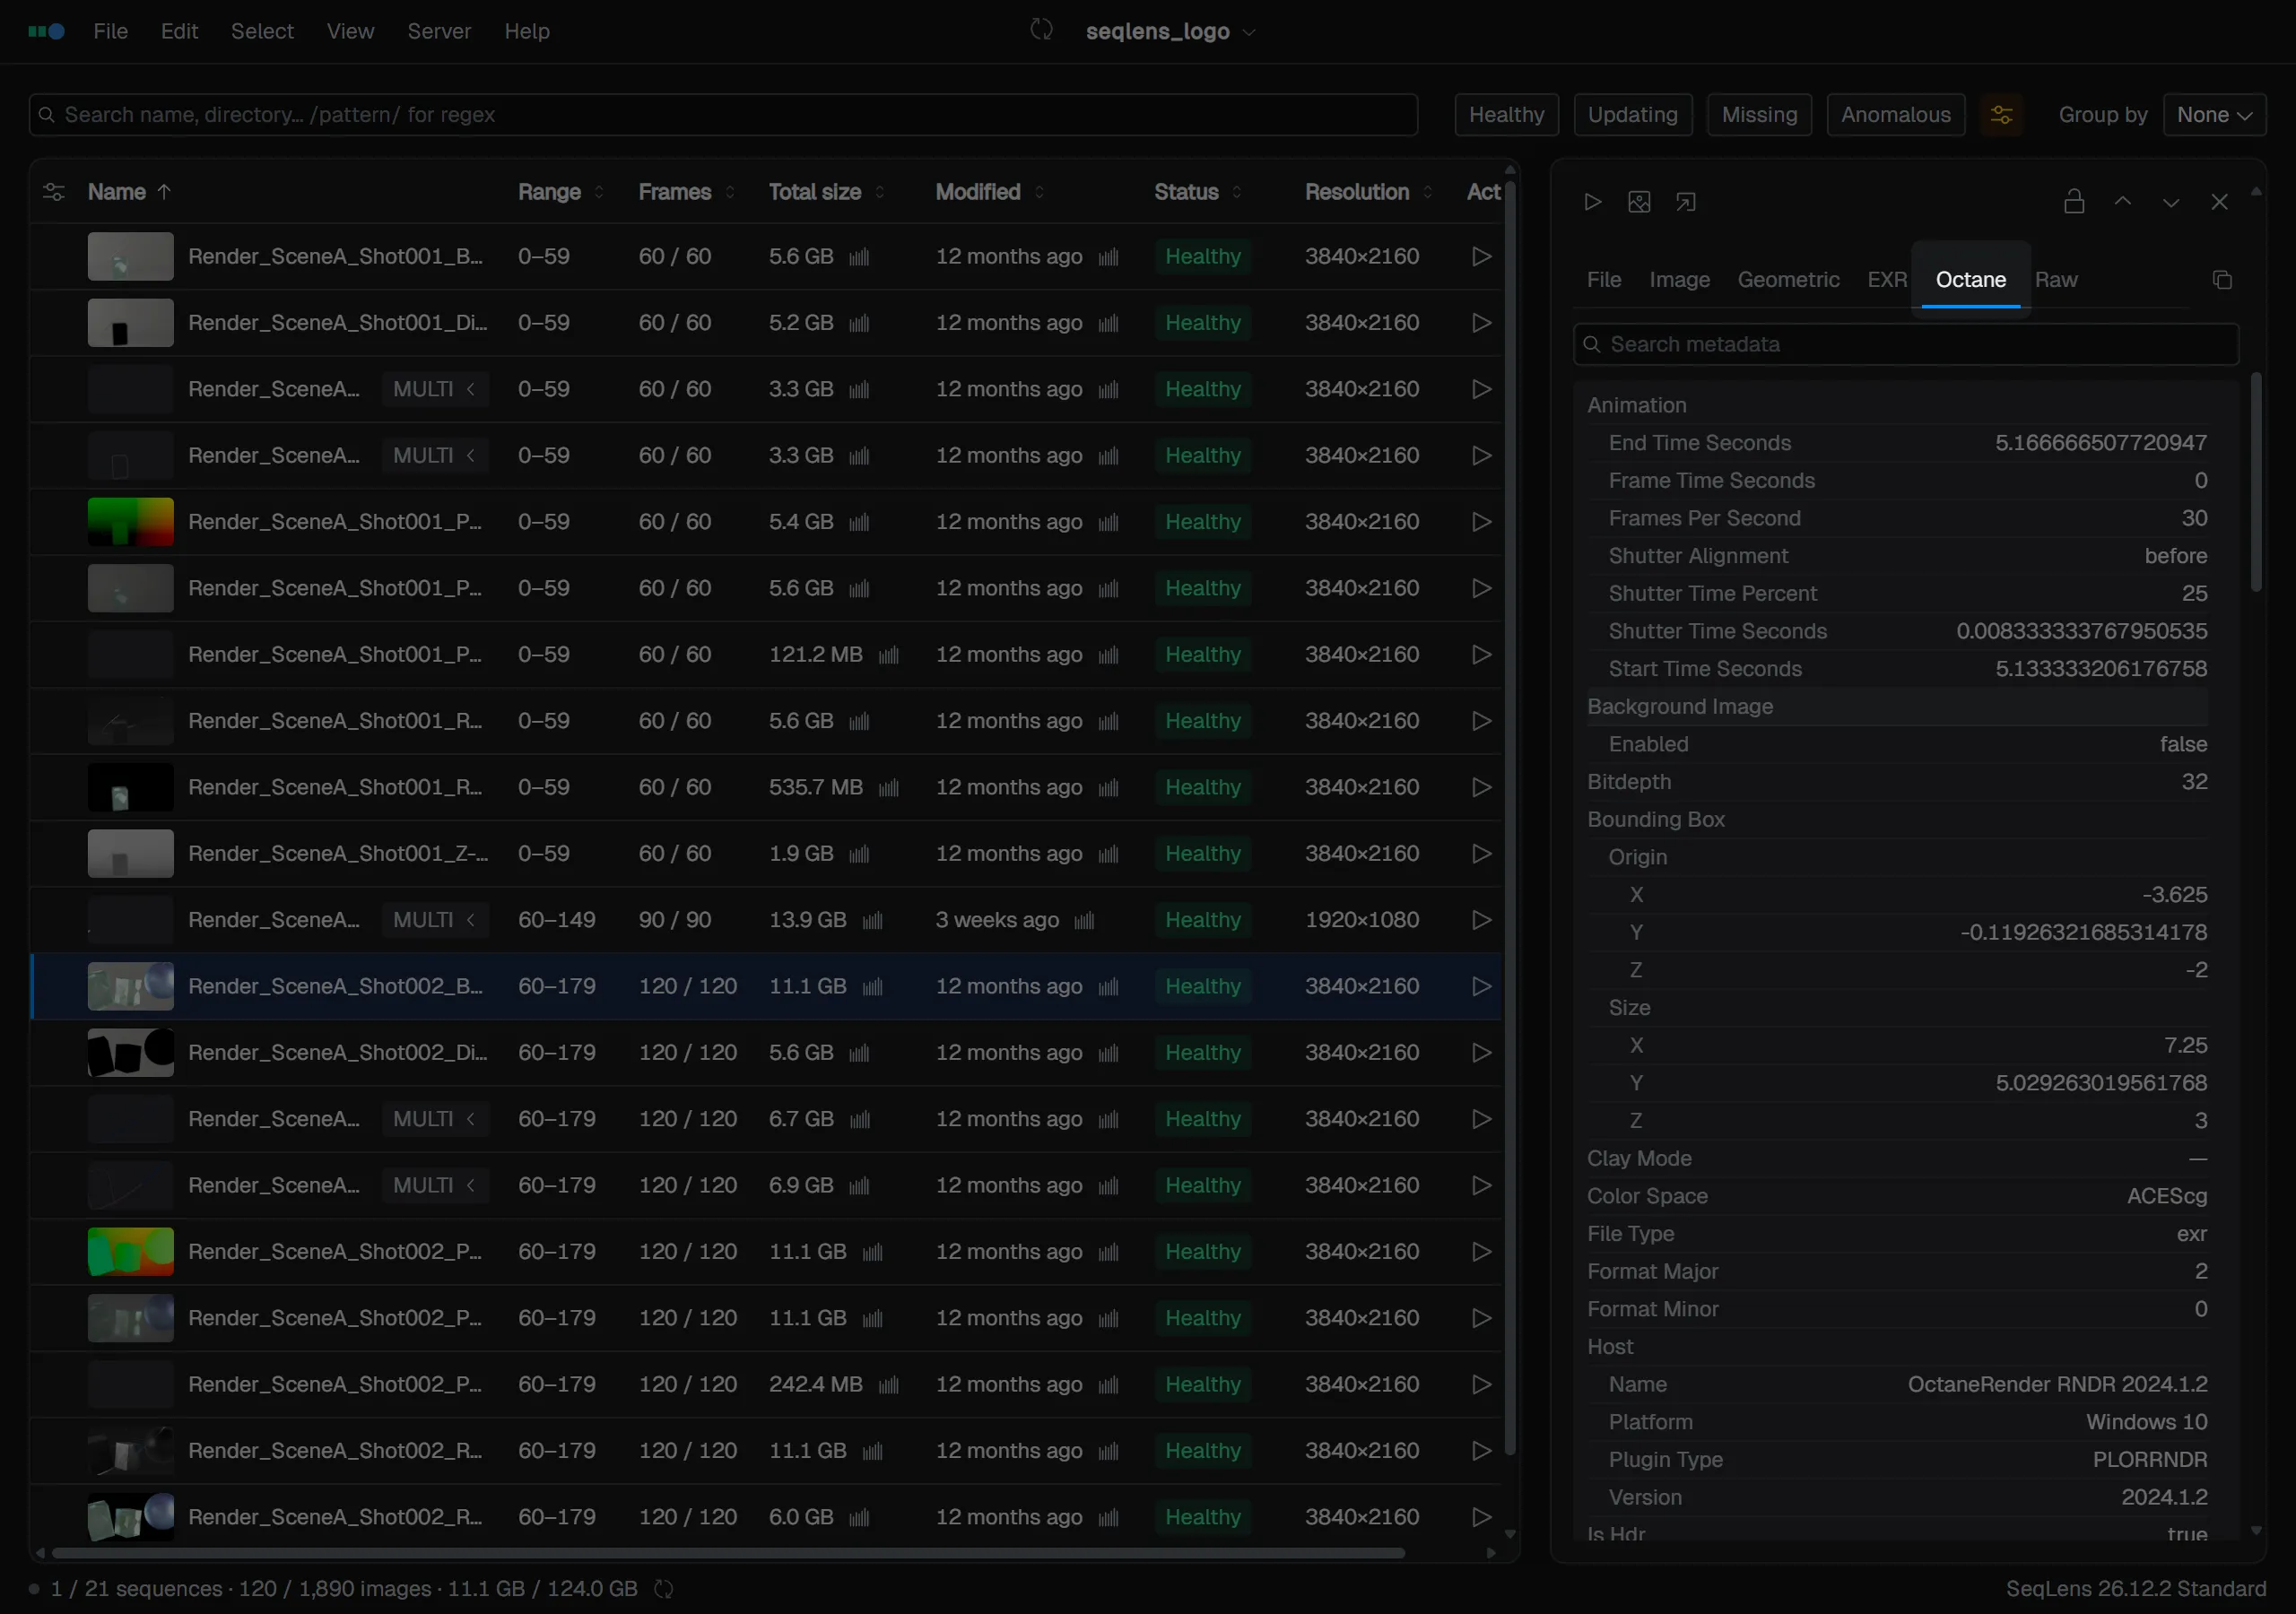
Inspect mode shows a single sequence or a single EXR layer. Select a row and press Space, click the row thumbnail (tooltip Inspect in Lens), choose View → Inspect in Lens, or use the row’s right-click menu. Turn on the Auto-open Lens View setting to open Lens automatically just by clicking a row. To close it, use Space, Esc, or the close button at the right edge of the header. Note that double-clicking a row opens the first frame in the default app rather than Lens.
Panel handling and locking
Drag the left edge of the panel to change its width. The new width is saved for next time. Turn on the lock icon on the right side of the header (tooltip Lock to current sequence) to keep the Lens view fixed even when you select a different row. This is handy when you want to keep watching one sequence while you work through the list. The header also has ↑↓ buttons to move to the previous / next sequence.
The left side of the header has three actions. Quick Play plays the current sequence back continuously. The image icon opens the first frame in the default app, and the external-link icon opens the sequence folder in Finder / Explorer.
Preview
The title row is collapsible. Expand it to see the directory, extension, frame range, file count, total size, and last modified time. The sequence name can be selected and copied, but it cannot be edited here.
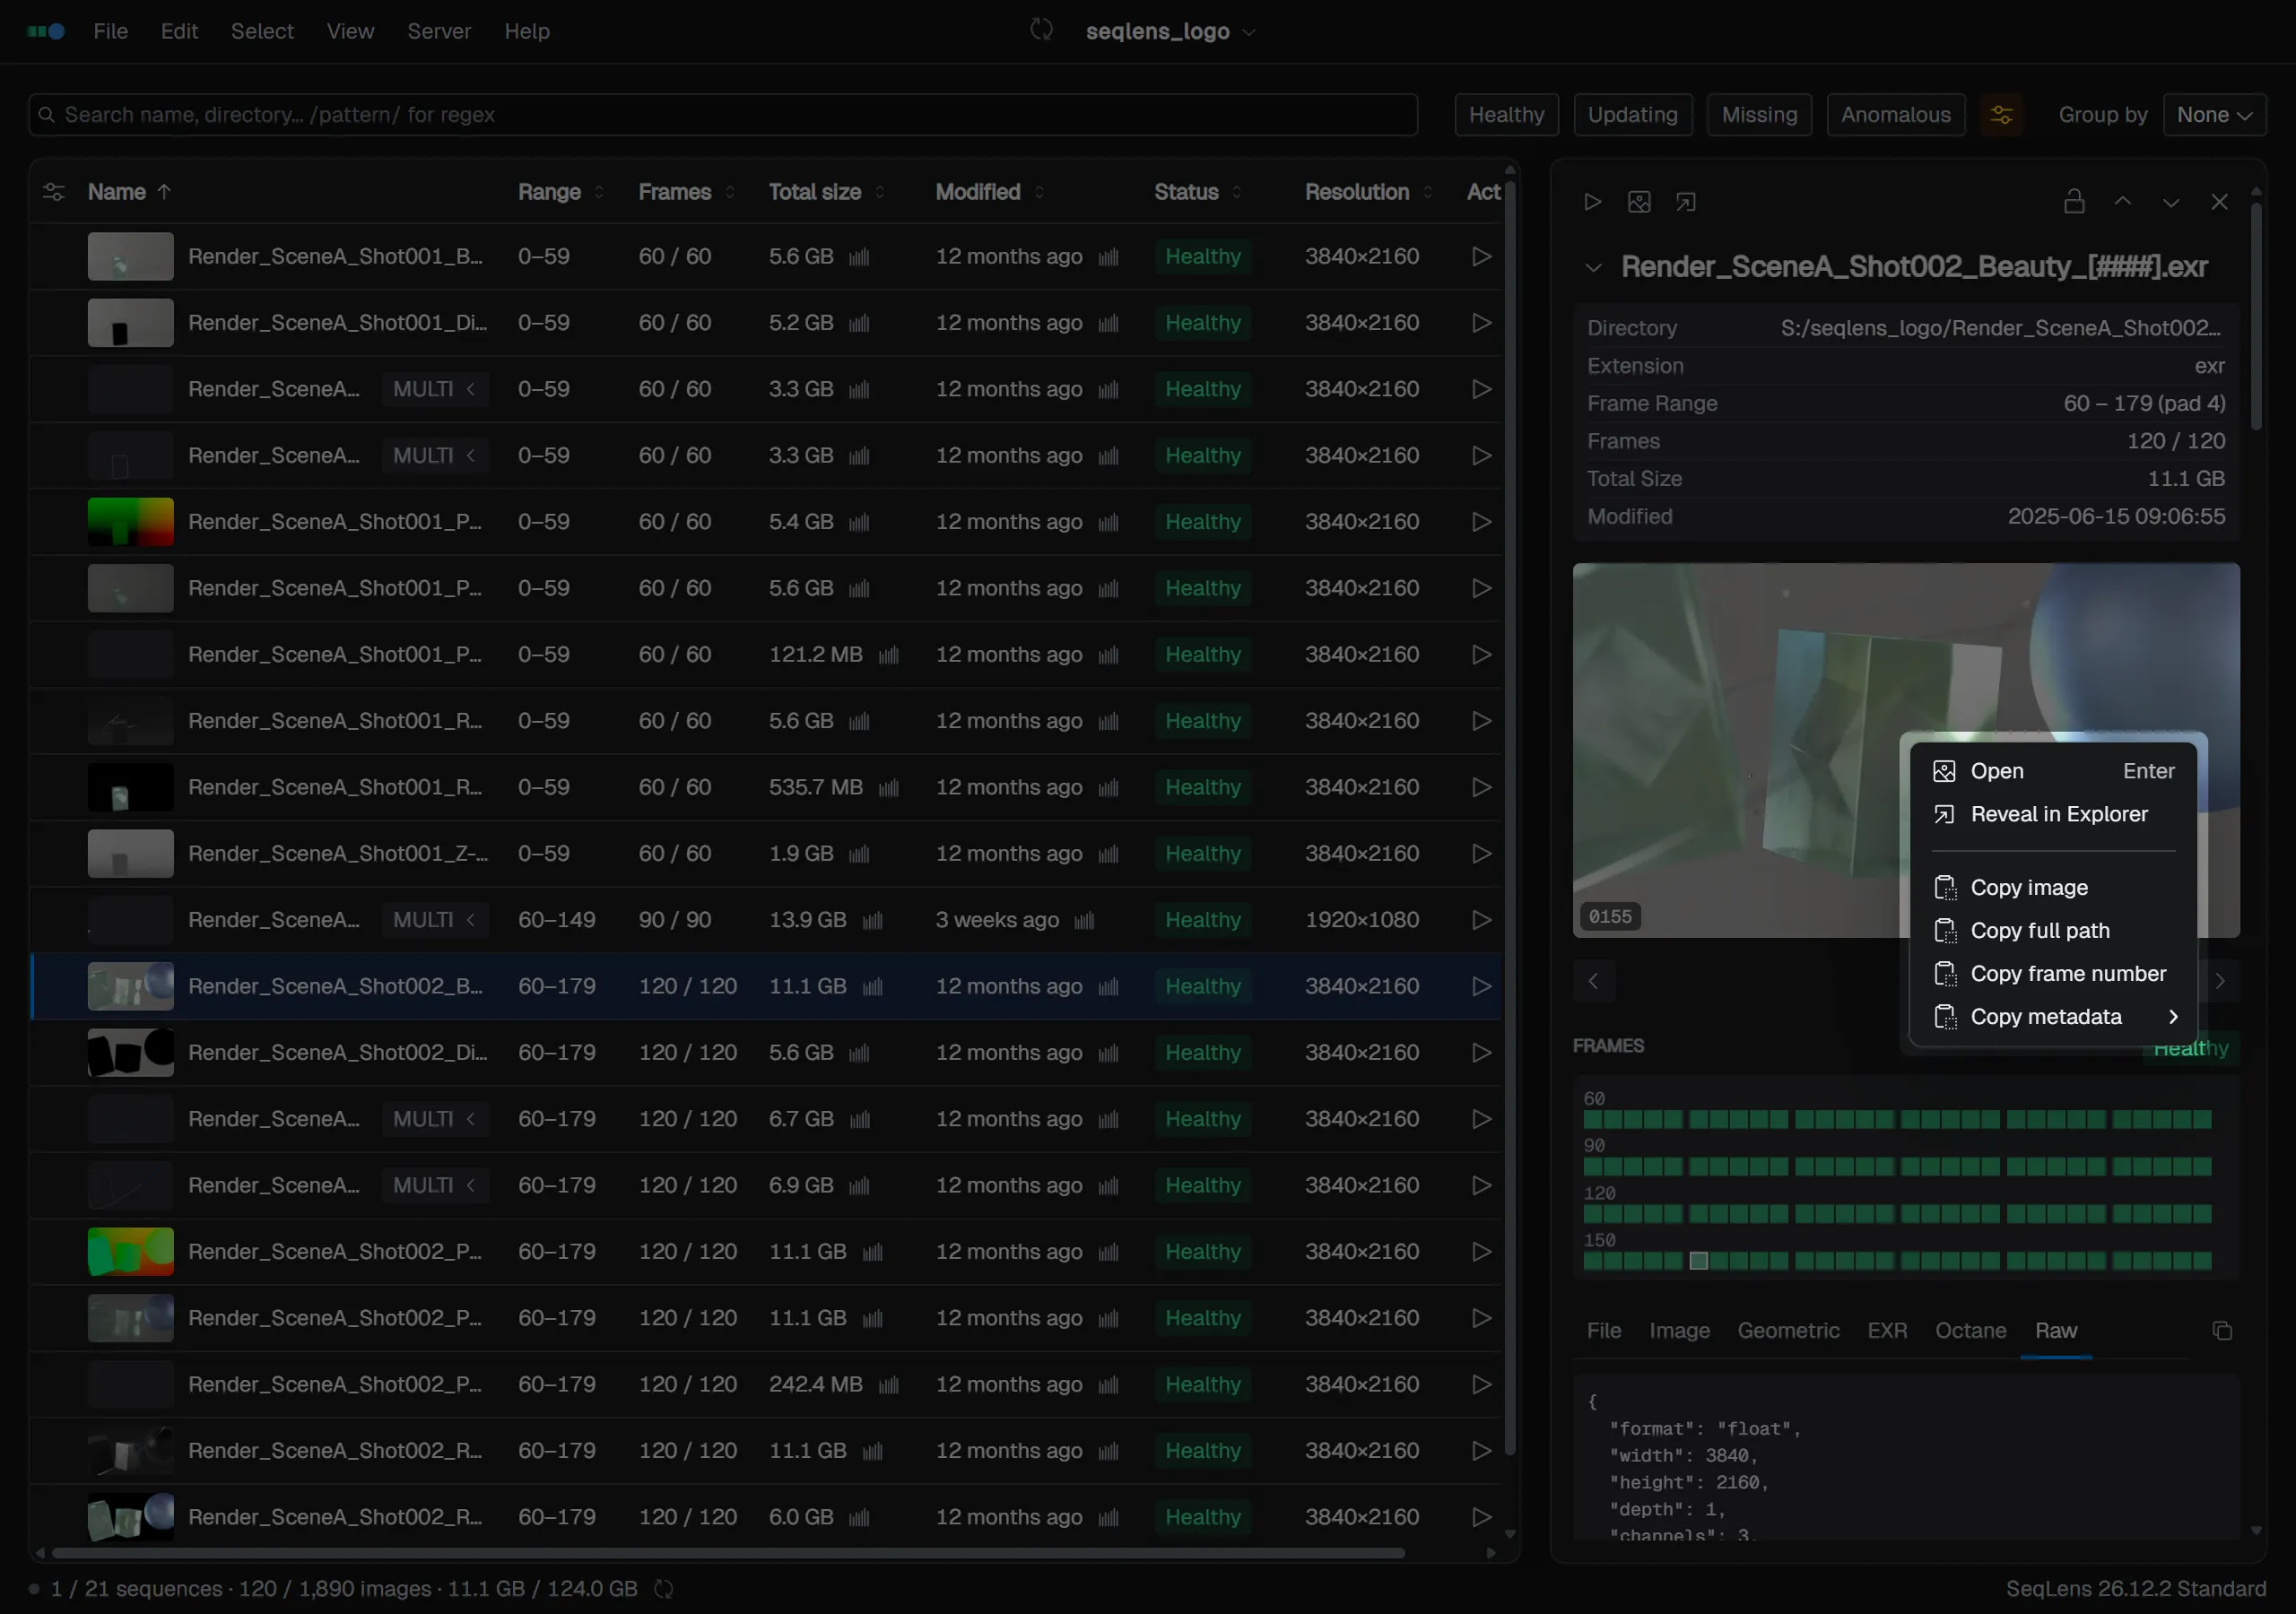
Below it, a large preview of the selected frame is shown. The preview image can be dragged and dropped. From the right-click menu you can run, for the currently shown frame, Open / Reveal in Finder (the label depends on your OS) / Copy image / Copy full path / Copy frame number / Copy metadata (submenu).
The < / > buttons just below the preview step the shown frame one at a time (or ← / → on the keyboard).
Frame grid
Below the preview is the frame grid, where thumbnails of every frame are laid out. Click to switch the shown frame, and Shift+Click to select a range. Cmd/Ctrl+Click toggles individual frames, and dragging selects everything you sweep across. Use the arrow keys to move between frames, and Page Up / Page Down to move to the previous or next sequence or EXR layer. When frames are missing, the missing range is shown in red.
For frames selected in the frame grid, the right-click menu offers Copy frames… / Move frames… / Move frames to Trash / Delete frames permanently…. See the “File operations” section for details on how these behave. With frames selected, you can also press Delete or Backspace to open the Delete frames permanently? confirmation directly from the keyboard.
Metadata panel
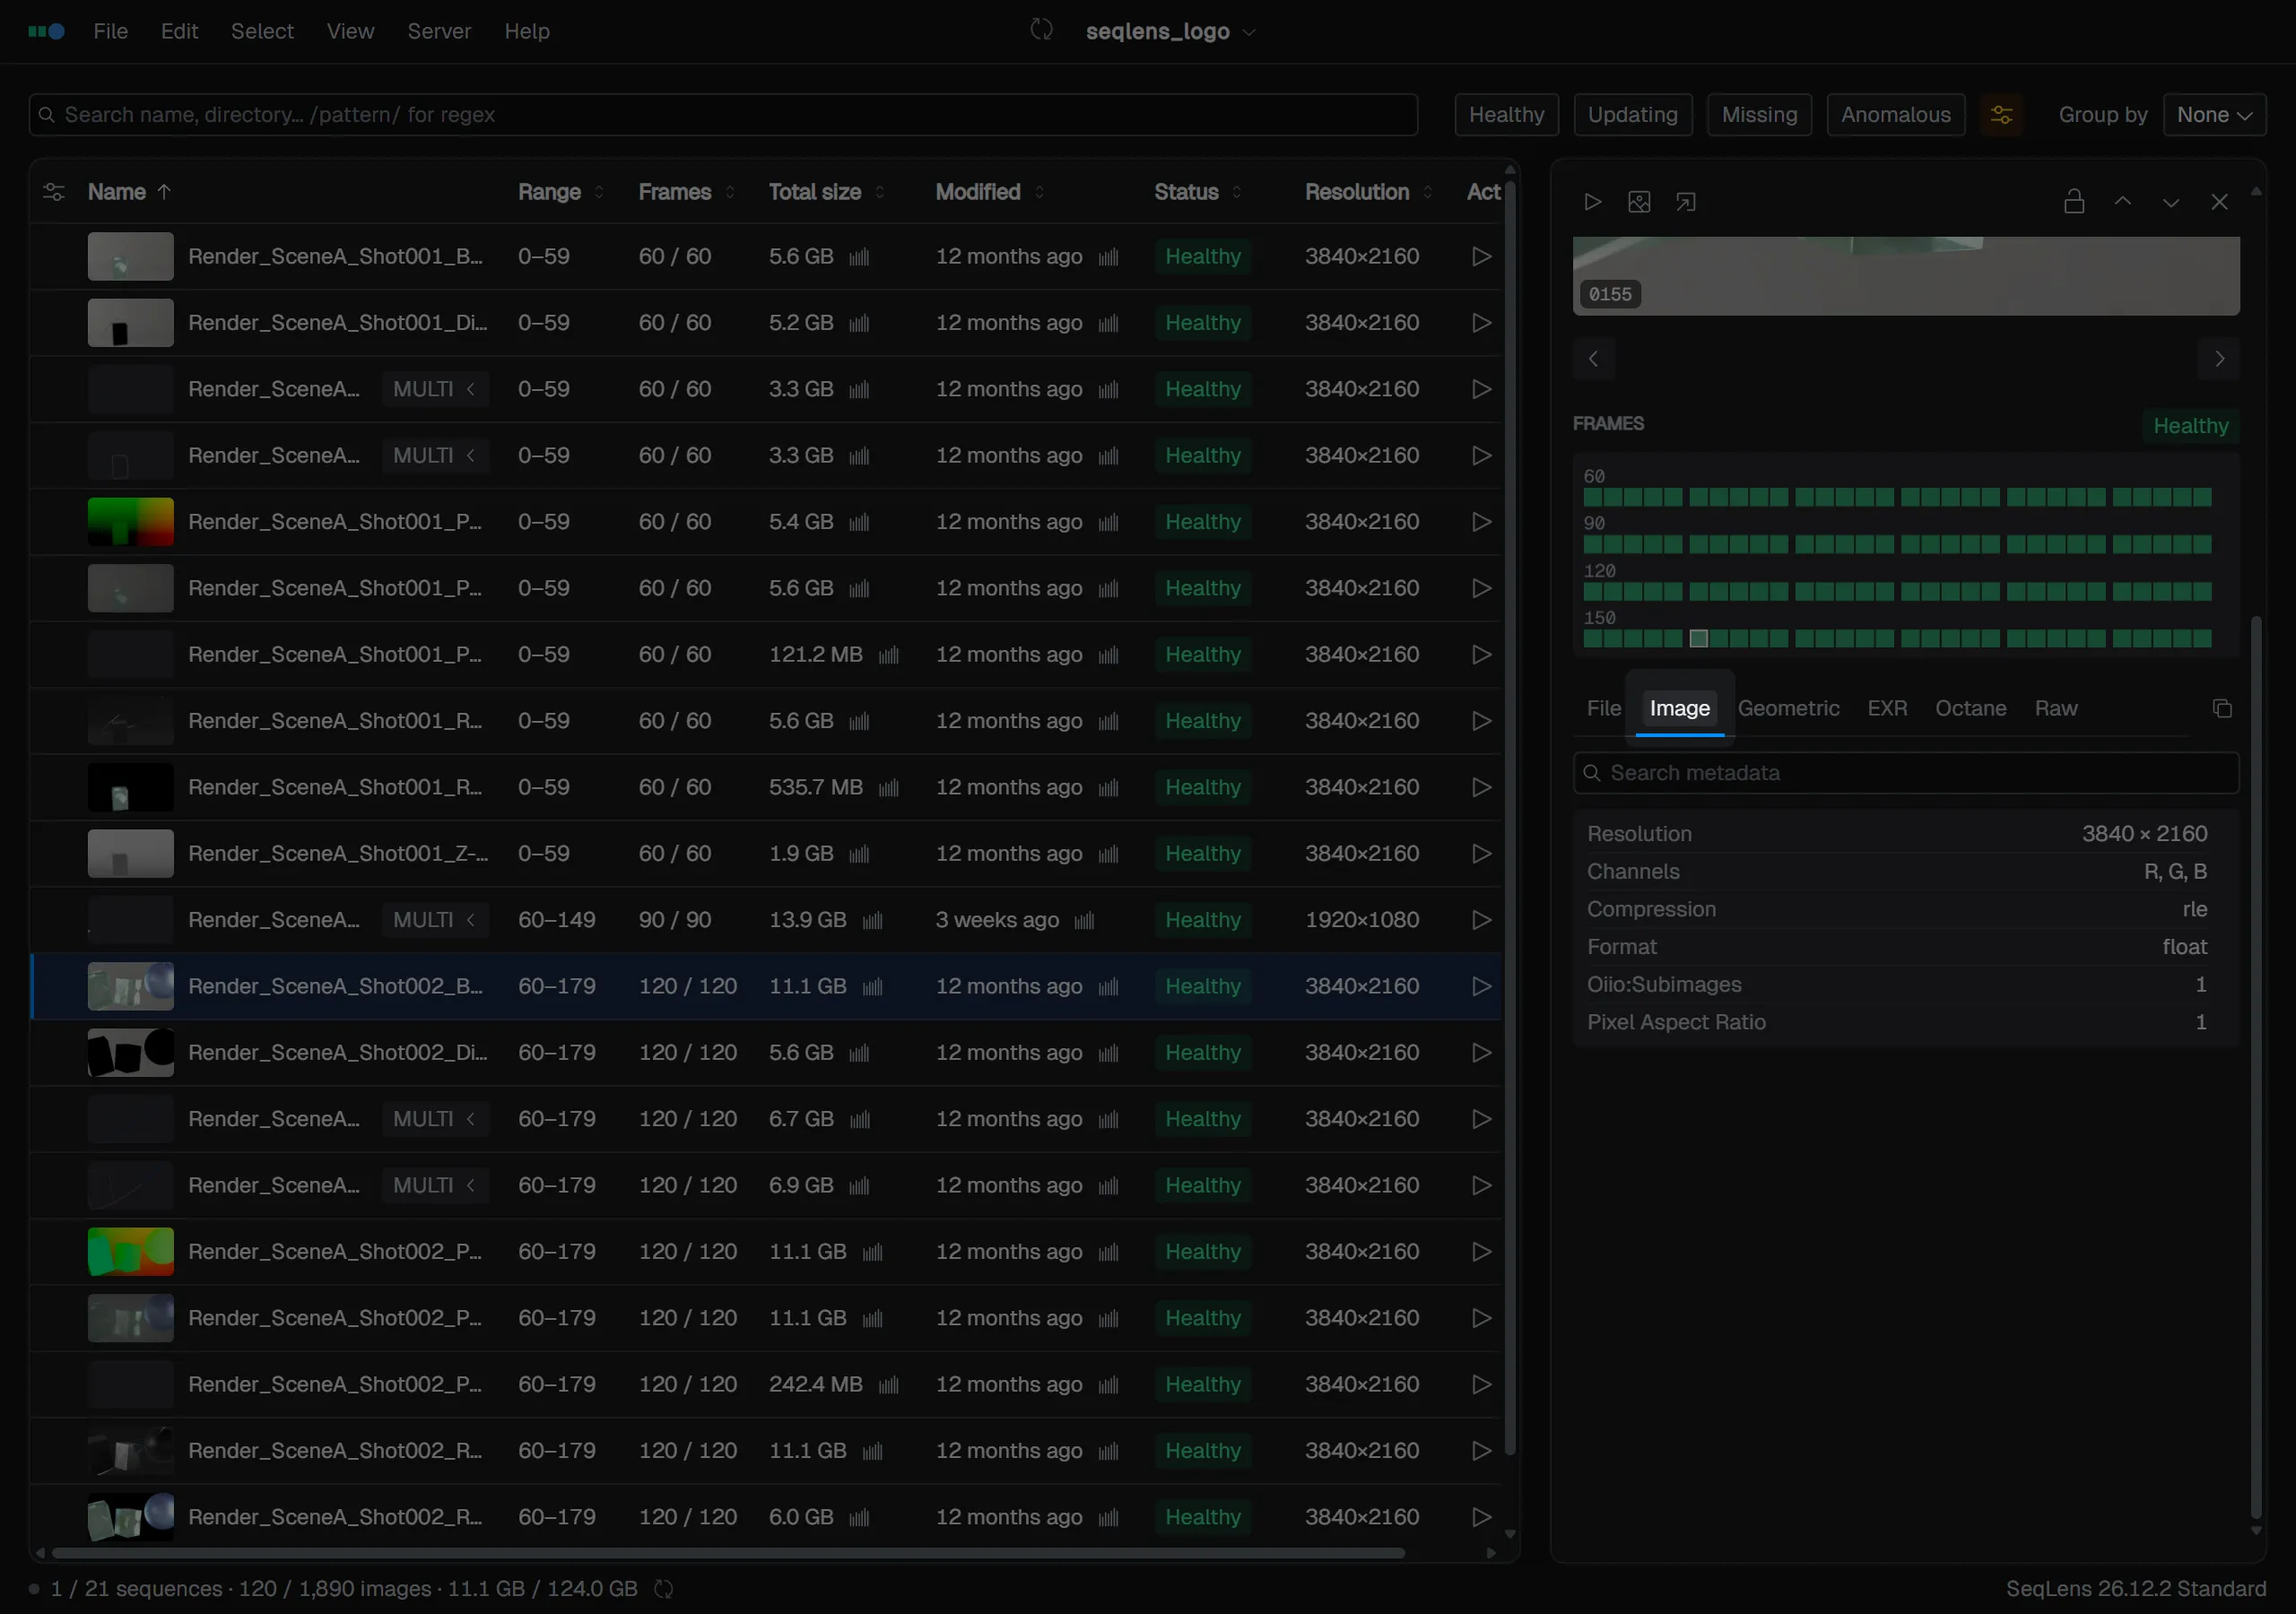
The metadata panel at the bottom lets you inspect per-frame metadata by category. Which tabs appear depends on the contents of the file. Each tab has a search box and a Copy button that copies the contents as JSON. The last tab you opened is remembered for next time.
Right-click any metadata row to choose Copy entry / Copy key / Copy value. You can also use Add to columns / Remove from columns to add or remove that value as a table column directly from Lens.